

 Diablo 2: Resurrected
 Diablo 4
 Path Of Exile 2
 Animal Crossing
 Path Of Exile
  ARC Raiders
 Last Epoch
  FC 25
FC 25  WoW WotLK Classic
  Runescape
  WOW Classic SOD
  StarRupture
  Elden Ring
 StarRupture Corporations: What to Unlock First—and Why
category:StarRupture
Jan-12-2026 Source: MMOSO
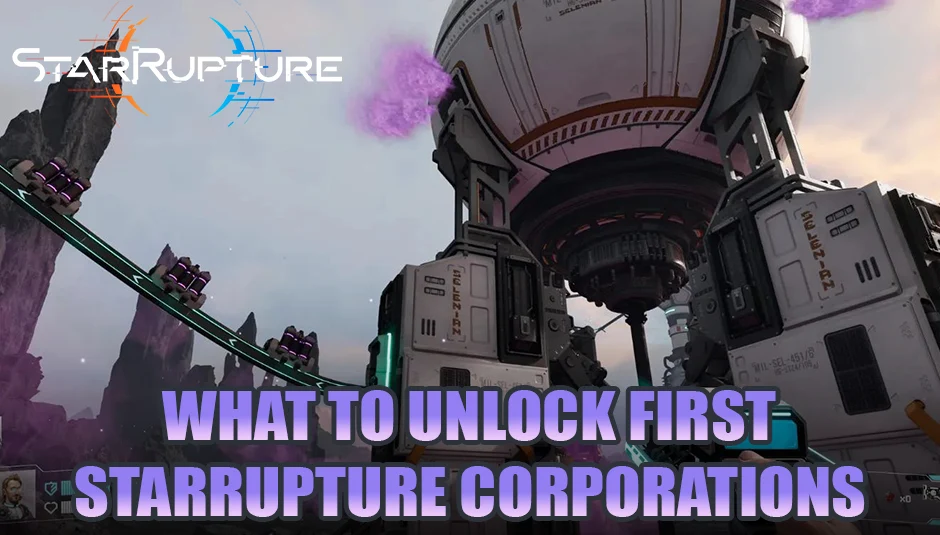
In StarRupture, corporations aren't flavor or lore—they are the backbone of progression. Every major system you rely on, from weapons and production machines to storage, power, and even food, is locked behind corporate trust levels.
The problem is that StarRupture introduces all five corporations very early, without clearly telling you which ones matter right now and which ones can wait. Upgrade in the wrong order, and you'll quickly find yourself stuck with poor inventory space, broken production chains, or no reliable way to explore safely.
This guide breaks down how corporation progression actually works, what each corporation truly provides, and—most importantly—the optimal early-game upgrade order. Follow it, and you'll unlock the map, stabilize your factory, secure basic weapons, and build real momentum instead of wasting hours fixing early mistakes.
How Corporation Progression Works
After completing the tutorial and building your first Habitat, you gain access to the Corporate Terminal. Inside, you'll see five corporations, each with its own level track and rewards.
You can increase corporation levels in two ways:
1. Exporting Resources via Orbital Cargo Launchers (OCLs)
This is the core progression method.
- Each OCL recipe is tagged with a corporation logo
- Sending the requested items increases that corporation's trust
- Once the progress bar fills, you can claim the next reward at the Corporate Terminal
This method is slower, but sustainable. As long as your factory is running, corporations will level up in the background while you explore.
2. Spending Data Points
Data Points are earned by scanning plants, alien organs, scrap, and meteor fragments at the Analyzing Station.
- They can be used to buy corporation levels directly
- They are also required to unlock crafting recipes
Early levels are cheap, but costs escalate rapidly. Later tiers can demand thousands of Data Points for both recipes and rank-ups.
Key Rule:
Use Data Points sparingly for early bottlenecks. Long-term progression should always rely on OCL exports.
What Each Corporation Specializes In
Before choosing what to upgrade first, it helps to understand what each corporation actually provides.
Moon Energy Corporation – Power & Navigation
- Solar Generators, Wind Turbines
- Analyzing Station, Recipe Station
- Map (critical early unlock)
- Inventory upgrades and power amplifiers
Selenian Corporation – Production & Industry
- Base Core, Ore Excavators
- Smelter, Fabricator, Furnace
- Helium-3 Extractor, Refinery
- Inventory upgrades
This is the backbone of your entire production chain.
Griffits Blue Corporation – Combat & Defense
- Platforms and structural modules
- Early firearms and grenades
- Equipment Upgrade Station
- Automated turrets and towers
Clever Robotics – Logistics & Storage
- Orbital Cargo Launchers
- Rails, multirails, and connectors
- Personal Storage and Storage Depots
- Building Drone and advanced logistics
Future Health Solutions – Survival & Comfort
- Regeneration Chamber (respawn)
- Medtool
- Food Station
- Habitat upgrades and inventory bonuses
Universal Early Move: Get Every Corporation to Level 2
The single most efficient early-game strategy is simple:
Push all five corporations to Level 2 before specializing.
Why this works:
Level 2 requirements are cheap
They mostly share the same basic resources
Every reward is immediately useful
With only Titanium and Wolfram, you unlock:
Moon Energy Lv2: Recipe Station
Selenian Lv2: Fabricator
Griffits Blue Lv2: Your first firearm
Clever Robotics Lv2: Personal Storage
Future Health Lv2: Regeneration Chamber
Once this baseline is established, stop spending Data Points on pure levels and let OCL exports handle future progression.
First Priority: Moon Energy to Level 3 (Unlock the Map)
Exploration without a map is one of the biggest early frustrations in StarRupture—especially because Rupture events constantly reshape the terrain.
Moon Energy Level 3 unlocks the Map, and it completely changes how the game feels.
Why the Map Is Essential
Allows efficient resource planning
Makes route optimization possible
Enables controlled expansion and base relocation
The catch is that the Level 3 commission requires Calcium Ore, which usually lies outside the immediate starting area.
Efficient Approach
1. Push Moon Energy to Level 2 using Titanium and Wolfram
2. Head east from the starting zone toward sulfur deposits and the nearby lake
3. Mine Calcium, ship it via OCL, and claim the Map
From this point onward, exploration becomes deliberate instead of reactive.
Second Priority: Selenian Corporation (Your Factory's Foundation)
If Moon Energy helps you see the world, Selenian lets you build in it.
Critical Early Unlocks
Level 2: Fabricator
Level 3: +8 Inventory Slots
Level 4: Furnace
The Fabricator is arguably the most important machine in the early game. It produces rods, wires, sheets, and other components required by nearly every other corporation.
Recommendation: Rush Selenian to at least Level 3 as soon as your basic mining is stable.
This single investment dramatically reduces friction across all other upgrade paths.
Third Priority: Griffits Blue (Staying Alive)
Combat can be delayed—but not avoided.
Key Early Rewards
Level 2: Pistol
Level 3: Grenades
Level 4: Equipment Upgrade Station
The pistol is cheap to maintain and strong enough to handle early threats, giving you breathing room to explore further and gather Data Points safely.
Push Griffits Blue further only when enemies start contesting your mining sites or forward bases.
Fourth Priority: Clever Robotics (Taming the Chaos)
As your factory grows, resource overflow becomes a real problem.
Clever Robotics solves this with storage, routing, and automation tools.
High-Impact Unlocks
Level 2: Personal Storage
Level 3: Storage Depot
Level 4: Building Drone
Storage Depots double as intelligent distribution hubs, reducing the need for complex rail junctions and smoothing material flow between machines and OCLs.
The Building Drone, meanwhile, makes large-scale construction dramatically easier.
Fifth Priority: Future Health Solutions (Long-Term Comfort)
This corporation shines later rather than earlier.
Notable Unlocks
Regeneration Chamber
Medtool
Food Station (Level 6)
The Food Station is where all those scanned plants finally pay off, enabling powerful meals that combine healing, stamina, resistances, and utility buffs.
Until then, leveling Future Health beyond 2–3 can wait.
Recommended Early-Game Upgrade Flow
Phase 1 – Foundations
Bring all corporations to Level 2
Build Fabricator, Recipe Station, Personal Storage
Unlock pistol and respawn point
Phase 2 – Navigation
Moon Energy → Level 3
Unlock the Map
Phase 3 – Production & Safety
Selenian → Level 3–4
Griffits Blue → Level 2–3
Phase 4 – Expansion & Comfort
Clever Robotics → Level 3–4
Future Health → Level 6
Final Thoughts
StarRupture's corporation system isn't about picking a favorite faction—it's about solving problems in the right order.
Follow this progression mindset, and you'll have a map, a scalable factory, reliable weapons, proper storage, and sustainable food long before Arcadia-7 truly starts fighting back.


Thank you for using this website through social login. In order to better use the functions of mmoso, please add your email address first. If you have questions, please consult our customer service.


