


 Diablo 2: Resurrected
 Diablo 4
 Path Of Exile 2
 Animal Crossing
 Path Of Exile
  Last Epoch
  FC 25
FC 25  WoW WotLK Classic
  Runescape
  WOW Classic SOD
  Steam
Steam  StarRupture
  Elden Ring
 Are you sure you want to delete all items?
WOW Classic SOD Scarlet Monastery: Cathedral Guide
category:WOW Classic SOD
Apr-29-2024 Source: MMOSO
Scarlet Monastery is four part dungeon, located northeast of the Undercity in Tirisfal Glades. It’s one of the most popular, iconic dungeons because it has great loot and each part doesn’t take that long to complete. It’s a 5 player max dungeon for players ranging from levels 26 to 45. And each region has different difficulty levels and challenges. The Cathedral is one of the most challenging areas, suitable for players at level 36 and above to team up and challenge.
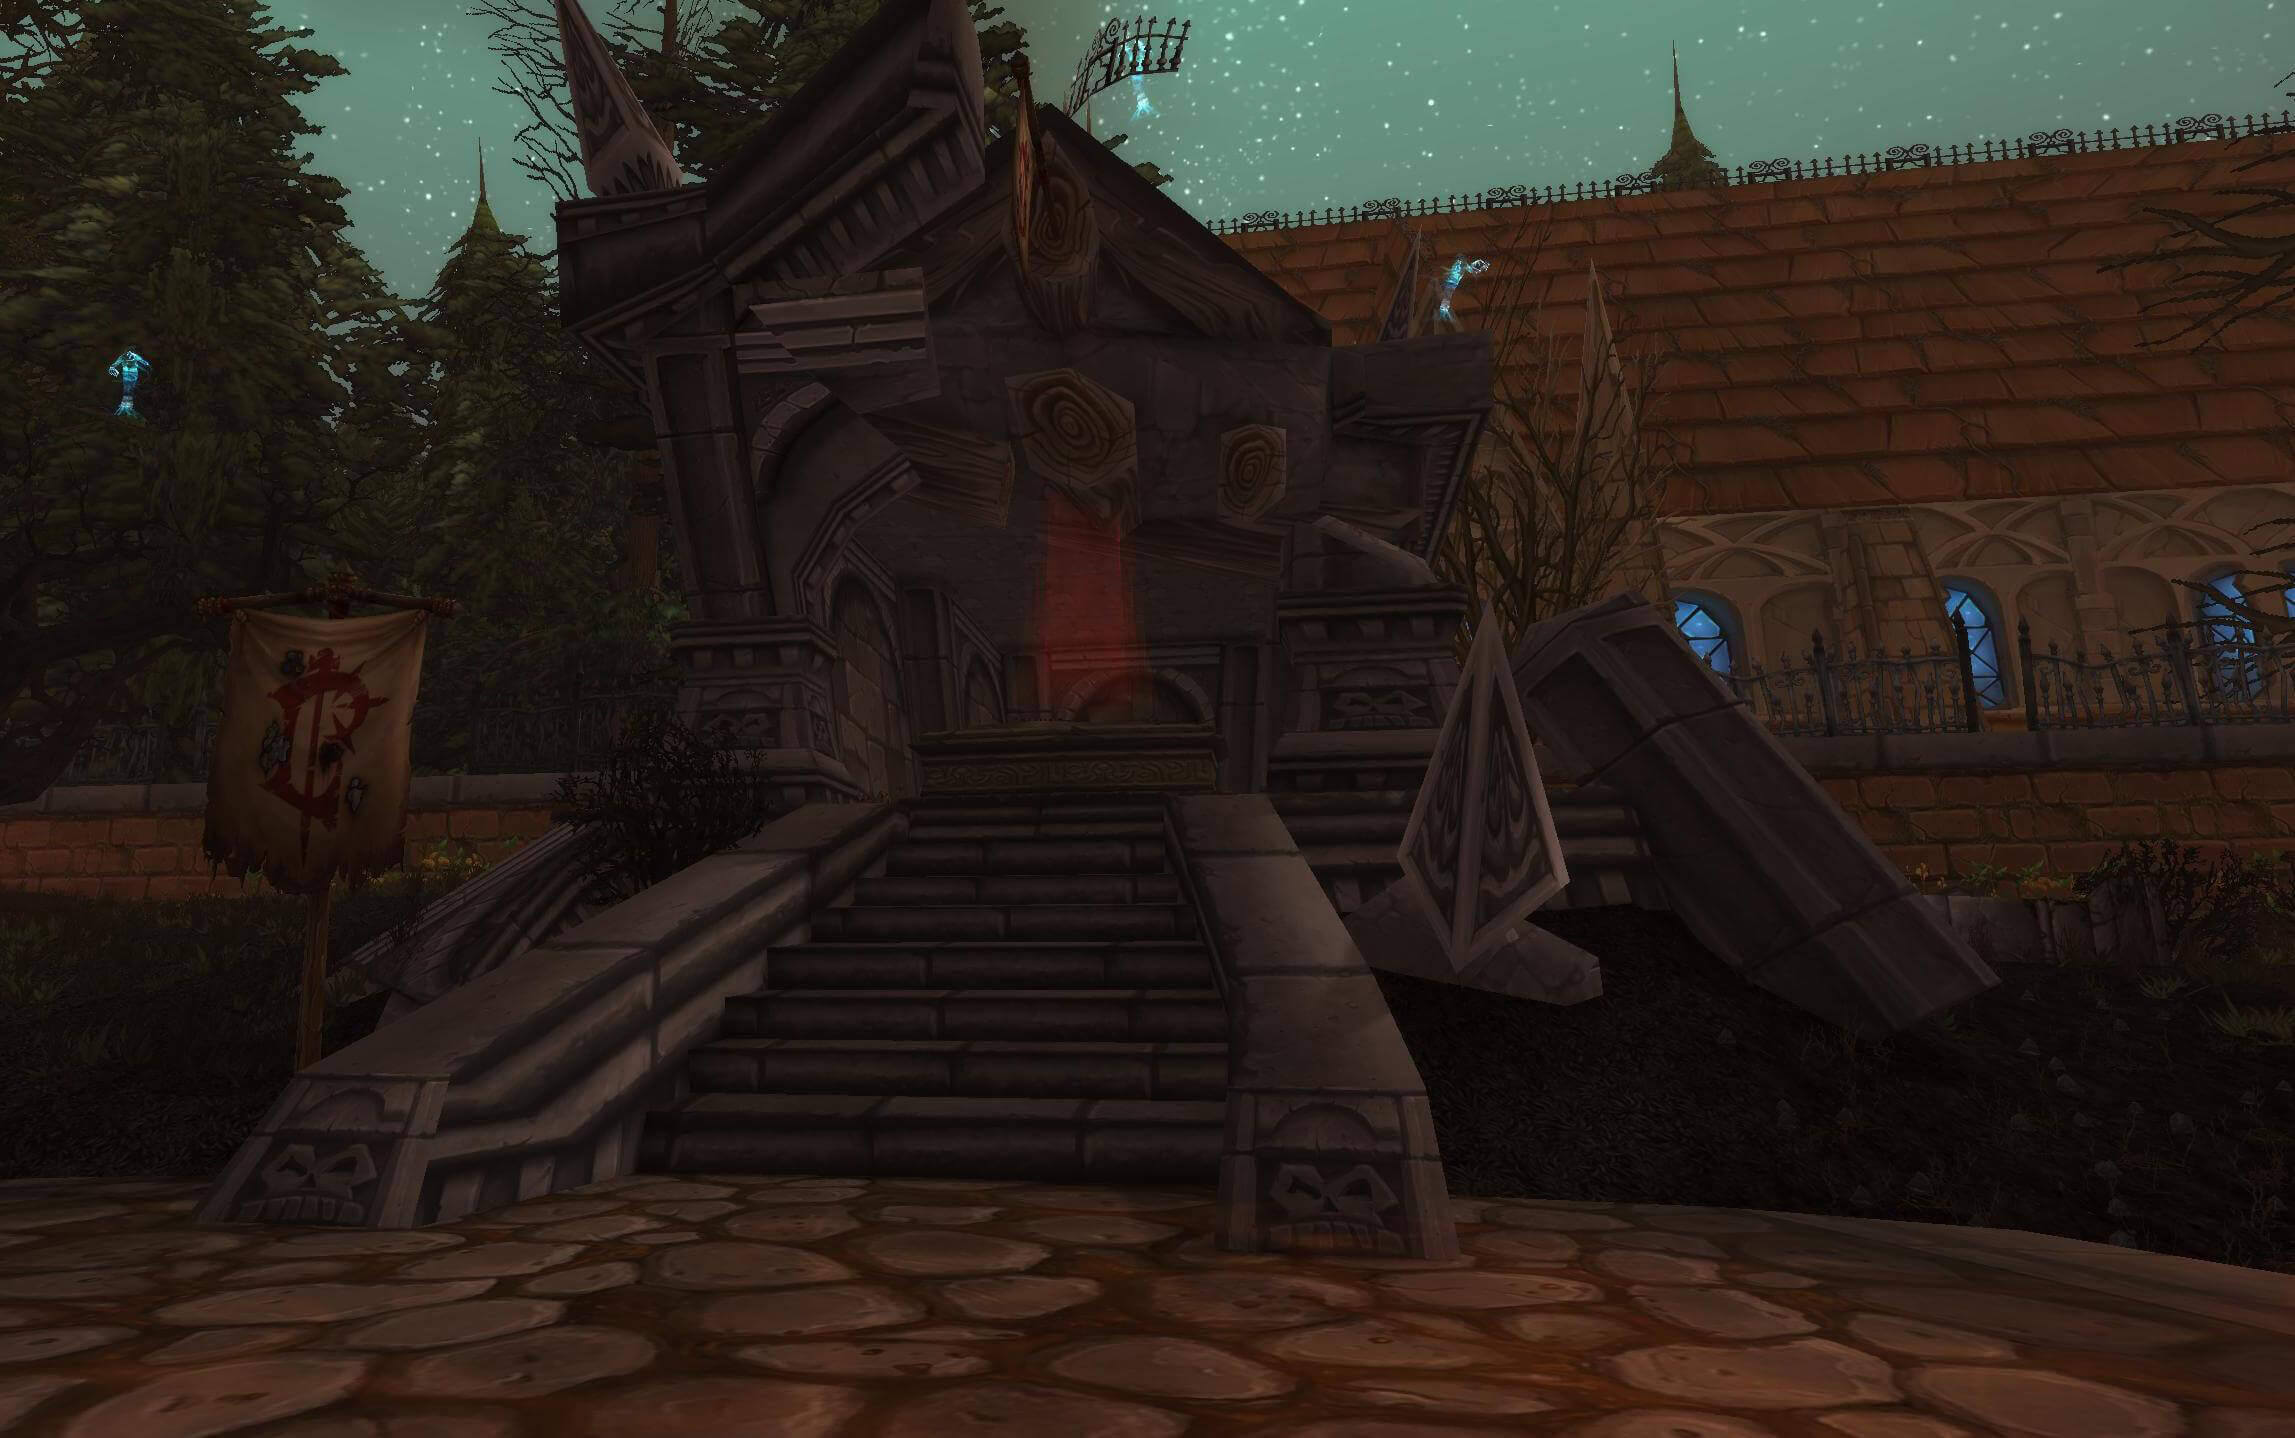
Entering the Cathedral
To enter the cathedral area. Firstly, players need to pass through the central courtyard and weapon storage area of the scarlet monastery. Entering the interior of the Scarlet Monastery from the outer tomb wing will encounter some small monsters along the way. After entering the monastery, continue walking through a room and you will see two locked doors. It should be noted that the brass door on the left leads to the wing of the arsenal, while the door on the right leads to the cathedral.
The door on the right doesn't seem to be able to open, but it actually needs to be opened through a special mechanism. Turn right from the door and walk along the corridor until you reach the end, where you will find a winding mechanism. Standing on the mechanism and using the "winding crank" (which can be obtained from picking or purchasing) can open the door. After entering the cathedral, you can start exploring and killing the monsters and leaders inside.
It is strongly advised to not enter the Chapel right away, but to slowly start pulling mobs outside to prevent runners. Once inside the actual Chapel, all mob packs must be cleared before engaging the bosses. If you pull the boss prematurely, every mob left will aggro towards you. This includes packs in the rooms to the side of the altar.
Challenges That Players Will Encounter in the Cathedral
The cathedral is divided into three parts, each with a different boss and trophy. The first part is the outer cemetery, with ordinary monsters such as undead guards and high-level knights. The second part is the inner chamber of the central cathedral, with high-ranking priests and blessed knights as leaders. The last part is the abyss, where the evil Archbishop Whitemaine resides.
Among the new types of mobs you’ll encounter are:
Scarlet Abbot - These mobs heal with Renew and Heal. Make sure to interrupt these spells.
Scarlet Centurion - standard melee, casts Battle Shout.
Scarlet Champion - melee, high damage attack Holy Strike.
Scarlet Monk - Fast, hard hitting, and can Kick - Do not let them on your healer!
Scarlet Wizard - This caster can do a lot of damage to your group, be sure to kill them first.
Boss
There are the following Bosses in the cathedral area that need to be defeated:
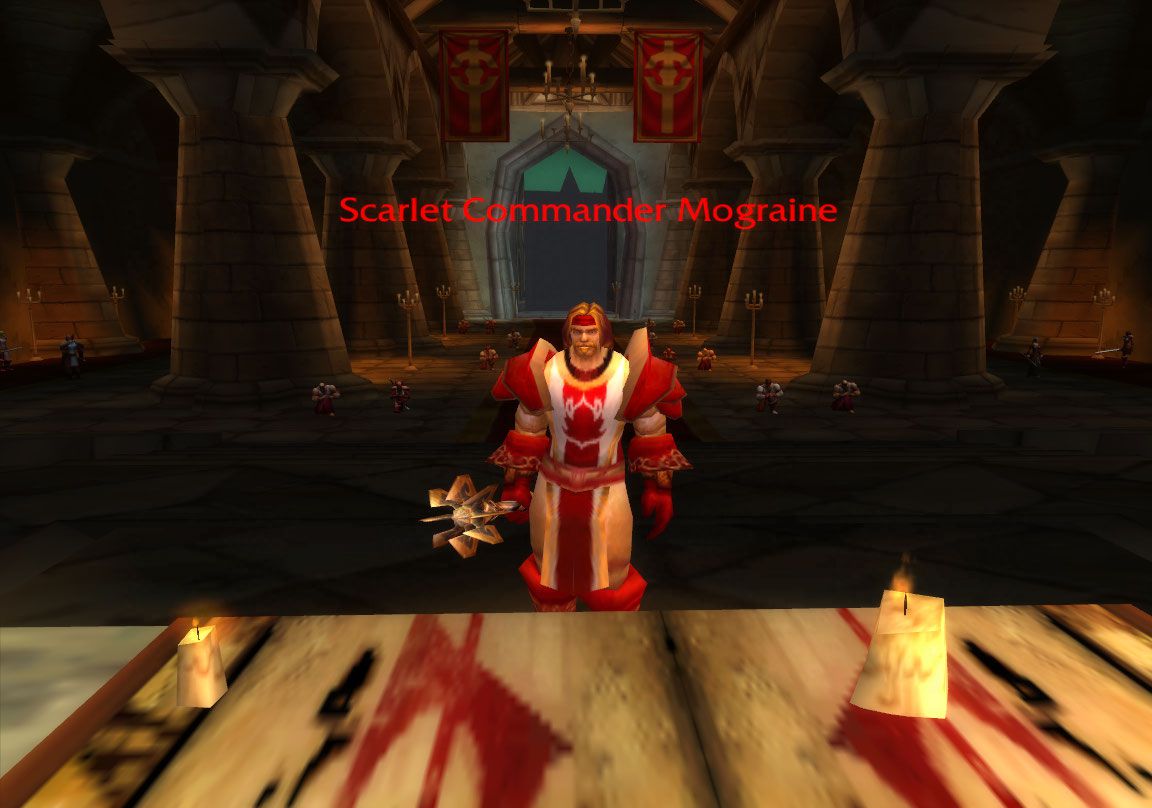
Scarlet Commander Mograine
After you're sure you've cleared every mob from inside the Cathedral, it's time to engage Scarlet Commander Mograine, a level 42 Elite Paladin type boss with many powerful abilities.
Crusader Strike - This is an instant cast ability, a melee attack by the Paladin that deals additional holy damage.
Lay on Hands - This is a powerful self-healing ability where the Paladin places their hands on their wounds to restore a large amount of health.
Retribution Aura - This is a buff that increases the spell damage and healing effects for the Paladin and their allies.
Hammer of Justice - This is a ranged attack ability in which the Paladin throws a massive hammer at the target, dealing damage and potentially causing stun.
Divine Shield - This is a defensive ability that surrounds the Paladin with a shield of divine energy, significantly reducing incoming damage and reflecting a portion of it while active.
Loot:
Upon defeating Mograine, players may receive valuable items such as:
Mograine’s Legacy Weapon - A powerful weapon that is part of the set reward for completing the dungeon.
Plate Mail Armor - Suitable for paladins and other plate-wearing classes.
Various Other Items - Including jewelry and other equipment that are useful for characters in the level range of the dungeon.
Strategies for Defeating Him:
To successfully take down Mograine, parties must be well-coordinated:
Dispel his beneficial spells to prevent healing and damage boosts.
Interrupt his Judgement casts to avoid heavy AOE damage.
Focus fire while being mindful of his Divine Shield, which requires specific strategies to remove efficiently.
Use crowd control techniques like stuns and fears to manage his movements and interrupts.
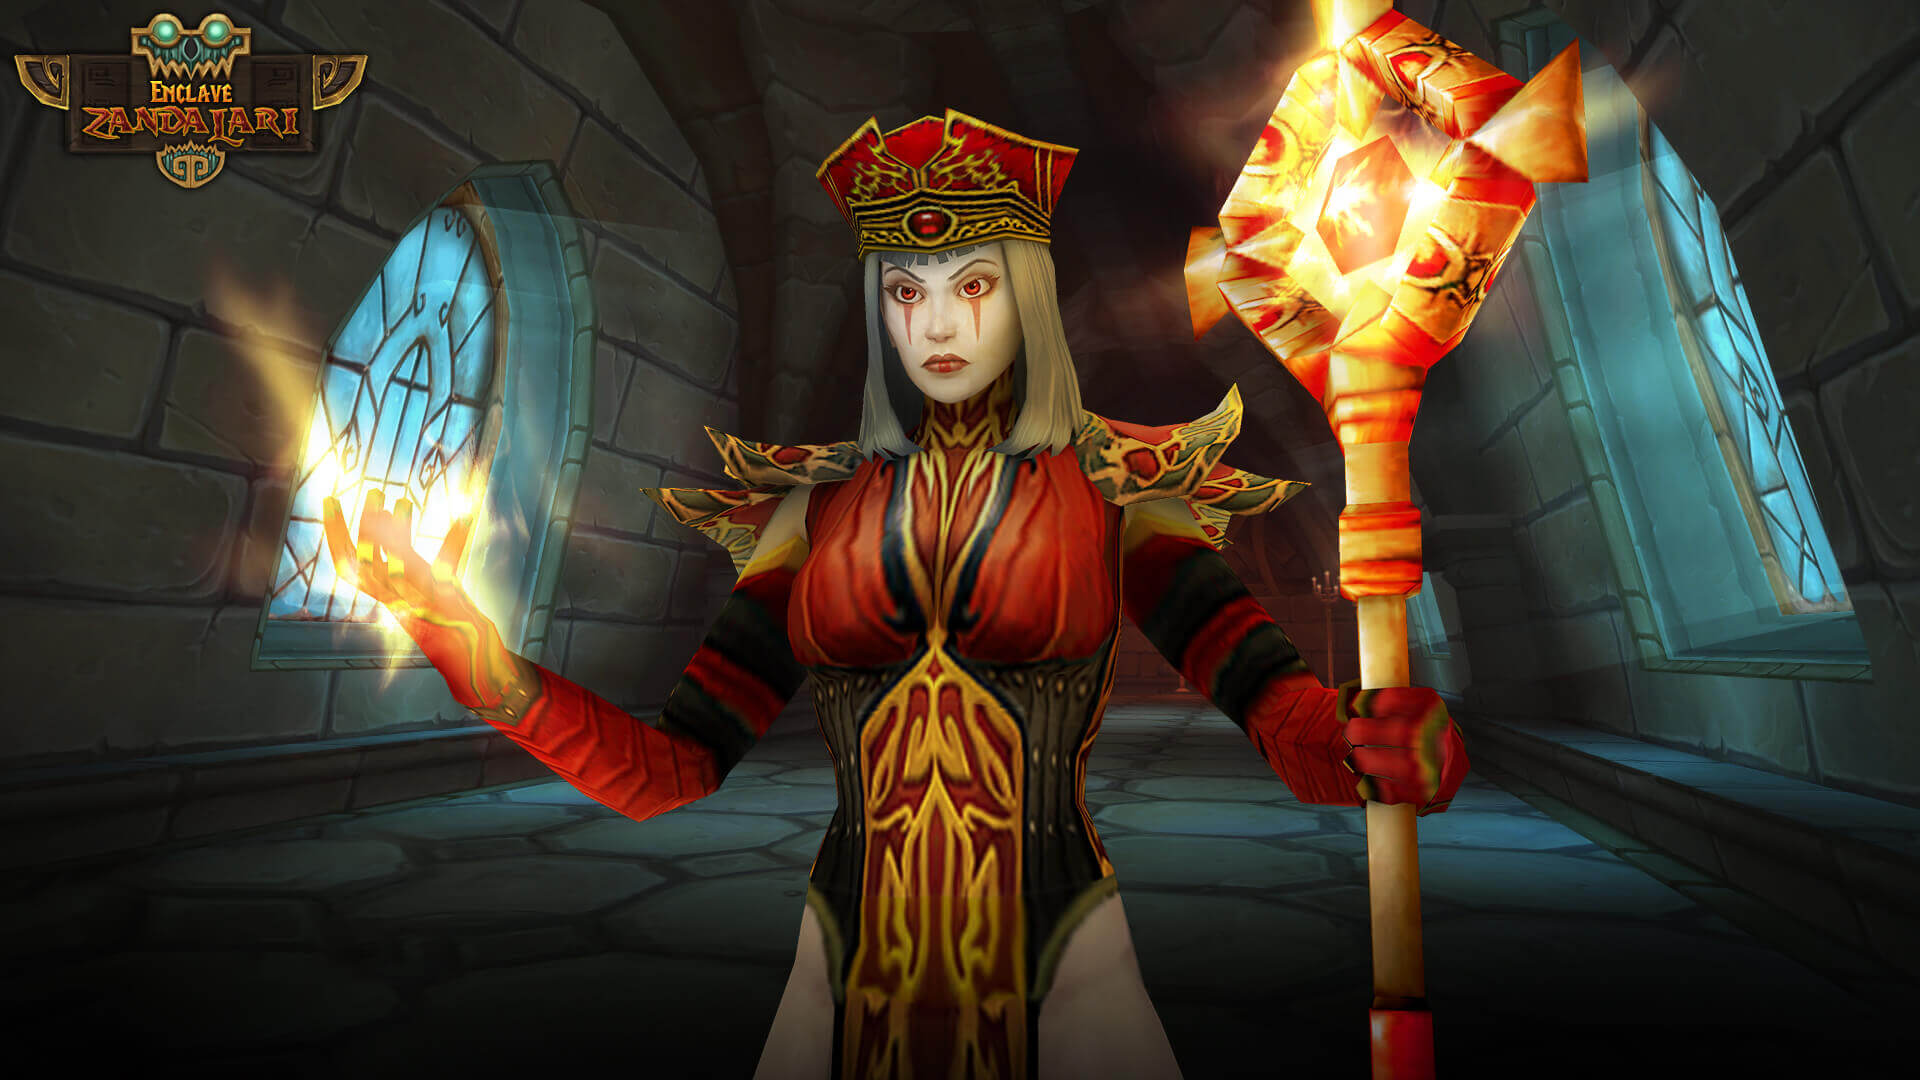
High Inquisitor Whitemane
As a formidable high-level elite boss, Whitemane poses a considerable challenge with an array of spells and abilities:
Deep Sleep - A powerful ability that can put targets into a deep slumber, rendering them unconscious for an extended duration.
Heal - A healing ability that allows Whitemane to recover health, potentially sustaining him during combat.
Holy Smite - An attack that deals significant holy damage and may have additional effects such as reducing the target's healing received.
Power Word: Shield - A protective spell that grants a shield, absorbing a certain amount of damage for a set period.
Scarlet Resurrection - A resurrection ability that could revive slain undead minions, reintroducing them into the battle.
Loot:
Upon vanquishing High Inquisitor Whitemane, adventurers may be rewarded with valuable treasures, including:
Whitemane's Chapeau - A cloth helm adorned with the distinctive style associated with Whitemane.
Hand of Righteousness - A one-handed healing mace imbued with sacred power, favored by healers.
Triune Amulet - A necklace that likely bears potent enchantments, sought after for its arcane might.
Strategies for Defeating Him:
To successfully take down High Inquisitor Whitemane, parties must coordinate effectively:
Dispel his debuffs to prevent reduced healing and other negative effects on the group.
Interrupt his casts of "Holy Fire" and "Holy Bolt" to minimize damage output.
Be mindful of Mind Control, which can be dispelled using a Dispel Magic or similar ability.
Coordinate crowd control measures like roots and poly-morphs to manage his movement and interruptions.
High Inquisitor Fairbanks
Fairbanks is the final boss of the main dungeon, located in the Cathedral area. Players encounter him after navigating through the monastery and defeating other Scarlet Crusader leaders such as High Inquisitor Whitemane. He possesses a formidable repertoire of abilities:
Curse of Blood - This spell can be cast on an unsuspecting party member, and it's something a Mage or Druid might dispel.
Heal - A self-healing ability that allows Fairbanks to recover health, which is crucial during combat.
Power Word: Shield - A protective spell he uses to shield himself, absorbing damage meant for him.
Sleep - An ability that can put players to sleep, rendering them temporarily unable to act.

Loot:
Defeat him, and you may claim these treasures:
Branded Leather Bracers - A pair of leather wrist guards.
Dusty Mail Boots - Sturdy mail boots, dusty from disuse.
Inquisitor's Shawl - A cloth shoulder piece once worn by an inquisitor.
Not a particularly challenging fight, he is found on the ground until you engage him. He casts Curse of Blood on a party member that can be dispelled by a Mage Mage or Druid Druid. Watch out for him also casting Fear and Sleep on party members, as well as Power Word: Shield on himself. Interrupt his Heal and you got him!
If you are here for experience, it is worthwhile clearing the entire dungeon as the mobs are linked fairly well into packs of 3 or more in most cases. It is acceptable to skip High Inquisitor Fairbanks, however, unless someone in your group needs gear from him. He is not worth the time killing otherwise.
Team Composition and Gears Recommendations
You can try entering the cathedral at around level 35, but it is recommended to wait until levels 36-38 before challenging. A balanced team of five is best, consisting of one tank, one healer, and three outputs. Warriors and paladins are suitable for playing MT, while priests and Shaman are better healing professions. DPS career recommendations include some control skills.

In terms of equipment, everyone's health and healing effects are crucial, so priority should be given to selecting equipment with health and endurance attributes. However, those with high resistance to legal damage are also bonus points. Familiarize yourself with the skill patterns of monsters and use consumables such as Burning Stones wisely to easily pass levels.
Recommended news
-

Diablo 4 Season 4: Unveiling The Pit Of Artificers - A Race Against Time In The Endgame
Apr-27-2024 -

The Easiest Way to Defeat Duriel In Diablo II Resurrected.
Apr-26-2024 -

Last Epoch:Best Glacier Runemaster Guide
Apr-24-2024 -

Elden Ring: Leyndell Sewers Leyndell Catacombs Detailed Walkthrough
Apr-23-2024 -
Path of Exile 3.24: Fast and Effectively Farming POE Orbs.
Apr-22-2024 -

The Best Barbarian Whirlwind Build in Diablo 4
Apr-20-2024


Thank you for using this website through social login. In order to better use the functions of mmoso, please add your email address first. If you have questions, please consult our customer service.


