
 Games


PoE 3.30 Righteous Fire Chieftain Guide: RF Activation, Gear & Bossing
category:Path Of Exile
Nov-13-2026 Source: MMOSO
Righteous Fire Chieftain is a strong mapping build in PoE 3.30, combining consistent area damage, Fire Resistance scaling, and Hinekora's explosions. However, activating RF before you have enough recovery can quickly drain your Life. The key is knowing when your defenses are ready, how much Fire Resistance and Life Regeneration you need, and when to adjust your setup for tougher enemies. This guide covers the main progression breakpoints and explains how to handle both mapping and bossing.
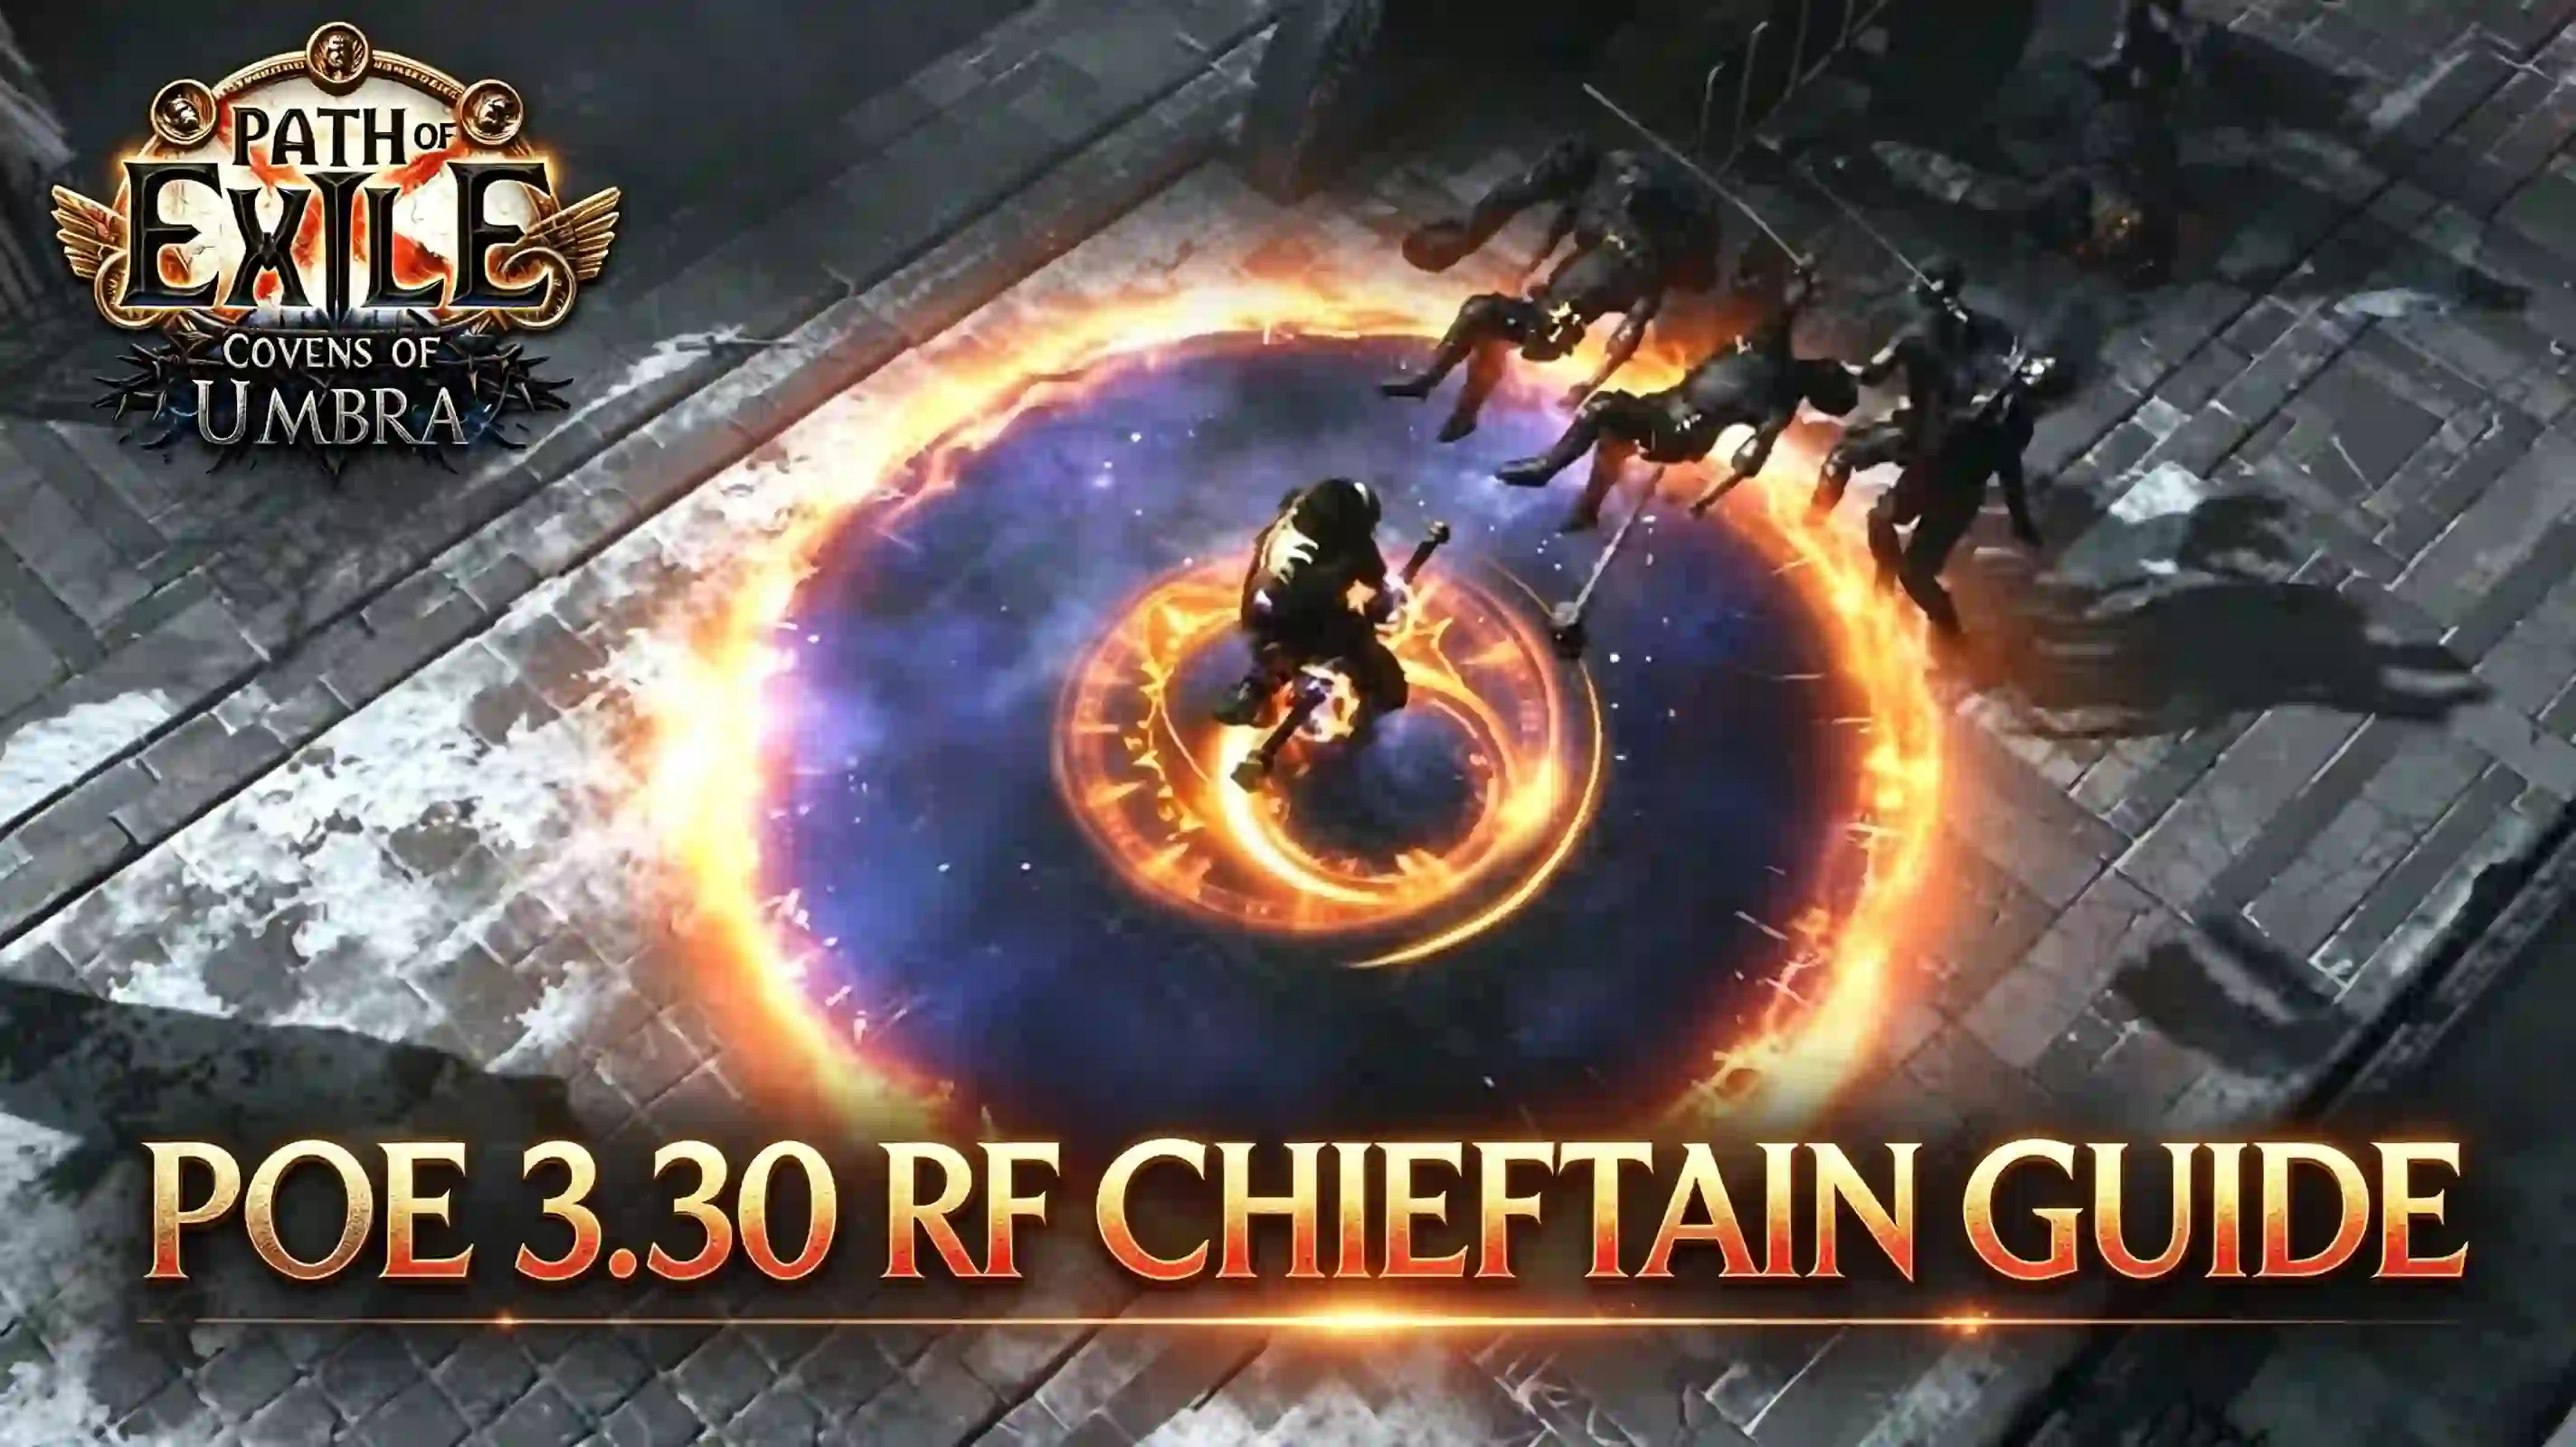
How Righteous Fire Works
Righteous Fire (RF) burns both you and nearby enemies. Its self-damage is the main obstacle when starting the skill, so you need enough Fire Resistance and Life Regeneration to sustain it.
RF deals base Fire Damage per second equal to 90% of your Maximum Life and 70% of your Maximum Energy Shield to you. Fire Resistance reduces this damage. The Life-based portion is especially important for Life-based Chieftain builds, while characters with Energy Shield must also account for the additional ES-based burn.
At the standard 75% Fire Resistance cap, the Life-based self-damage is 22.5% of your Maximum Life per second. Raising your maximum Fire Resistance makes RF easier to sustain.
| Fire Resistance | Life-based RF self-damage |
|---|---|
| 75% | 22.5% of Maximum Life per second |
| 80% | 18% of Maximum Life per second |
| 85% | 13.5% of Maximum Life per second |
| 90% | 9% of Maximum Life per second |
For example, a character with 4,000 Life takes 900 damage per second from the Life-based burn at 75% Fire Resistance, compared with 360 damage per second at 90%. These figures do not include the separate Energy Shield-based portion.
Energy Shield recharge is not automatically disabled by RF's damage over time, but you should still account for the ES-based self-damage when planning your recovery.
When Can You Activate Righteous Fire?
Do not activate RF just because you meet the gem's level requirement. You need enough Life Regeneration to offset its self-damage while leaving room for incoming attacks.
Pohx's November 2026 FAQ recommends around 120% total Fire Resistance as an early RF starting point when using the Fire Mastery that grants 1 Life Regeneration per second for each 1% of uncapped Fire Resistance. With a 75% maximum Fire Resistance, this provides 45 Life Regeneration per second from the mastery.
For mid-level mapping, aim for around 800–1,400 Life Regeneration per second. This is a progression benchmark rather than a strict requirement for activating RF.
Before switching:
- Cap your Fire Resistance and raise your maximum Fire Resistance when possible.
- Make sure your Life Regeneration exceeds RF's self-damage, leaving enough recovery to handle incoming damage.
- Use Purity of Fire, Vitality, or a Ruby Flask if your current gear cannot sustain RF.
- Test RF in a safe area with your normal combat setup. Your Life should remain stable without depending on temporary flask recovery.
Remember that Kitava's Act 5 and Act 10 penalties each reduce your Elemental Resistances by 30%. Recheck your gear after both penalties rather than assuming your campaign resistance setup will remain capped.
A Life Flask with the removal of Burning can also turn RF off when used. Keep one available for emergencies, but remember that using it will interrupt your RF damage.
Chieftain Ascendancy for RF
Chieftain is especially effective for RF mapping because of its Fire Resistance scaling and built-in explosions. Its main ascendancy benefits are:
- Tasalio, Cleansing Water: Modifiers to Fire Resistance also apply to Cold and Lightning Resistances at 50% of their value. This reduces the pressure on your gear when capping all three Elemental Resistances. You are also unaffected by Ignite.
- Valako, Storm's Embrace: Maximum Fire Resistance investment also improves your maximum Cold and Lightning Resistances, helping you build a stronger defensive setup.
- Hinekora, Death's Fury: Enemies you or your Totems kill have a 10% chance to explode, dealing Fire Damage equal to 250% of their Maximum Life. This is the core of Chieftain's chain-clearing potential.
- Ramako, Sun's Light: Nearby stationary enemies have their Fire Resistance against Damage over Time set to -20%. This provides consistent RF and Fire Trap damage without relying on conventional Fire Exposure or resistance reduction.
The remaining ascendancy choices should support your progression and defensive needs. Ngamahu can provide another damage-scaling option, but it is not a substitute for the resistance and recovery needed to sustain RF.
Leveling and Early Gear
RF requires a level 16 gem, but that does not mean you should activate it as soon as it becomes available. Pohx uses around level 30 as a general switching reference. Your actual readiness depends on your Fire Resistance, Life Regeneration, and available support skills.
Use Holy Flame Totem and your preferred leveling skills before RF becomes sustainable. Prioritize Maximum Life, Elemental Resistances, and recovery on early gear.
Useful early items include:
- Cloak of Flame: Provides Fire Resistance and converts part of Physical Damage taken into Fire Damage.
- Rise of the Phoenix: Offers maximum Fire Resistance and Life Regeneration, making it a useful early RF shield.
- Marble Amulet: Its implicit Life Regeneration is stronger in 3.30, now providing 1.4–2% of Life regenerated per second instead of 1.2–1.6%.
- Two-Toned Boots: Their implicit now provides 16–20% to two Elemental Resistances, up from 8–12%, making resistance capping easier.
The 3.30 changes make Marble Amulets and Two-Toned Boots more useful for RF gearing. Avoid the updated 3.30 version of Atziri's Acuity for a normal Life-based RF setup. Its new modifiers prevent Life Regeneration and Life Recoup, making it unsuitable for sustaining Righteous Fire. Existing versions are unaffected.
Mapping Setup
RF handles most of the clearing through its continuous area damage. Use Shield Charge or Frostblink to move between packs while keeping RF active.
Hinekora explosions help Chieftain clear dense groups. To improve explosion chains, aim for around 30–50% Ignite Chance and use one source of Ignite Proliferation, such as Fan the Flames on a Medium Cluster Jewel or an Ignite Proliferation glove implicit.
Hinekora explosions can inflict powerful Ignites, allowing the damage to spread to nearby enemies. You generally only need one source of Ignite Proliferation rather than investing in multiple sources.
Avoid unnecessary Cold Damage that can freeze and shatter enemies, interrupting explosion chains.
A typical RF setup uses:
Righteous Fire
Burning Damage
Elemental Focus
Increased Area of Effect
Lifetap
Swift Affliction
Lifetap enables Swift Affliction by giving RF the required Duration tag. Keep the Lifetap buff active through Shield Charge or Frostblink.
For map clearing, Increased Area of Effect improves coverage. Swap it for a stronger damage support when you need more single-target damage.
Pay attention to map modifiers. No Regeneration is unsuitable for RF, while Less Recovery and reduced maximum Elemental Resistances can make maps dangerous. Reduced effect of non-Curse Auras is also particularly harmful to builds that rely on defensive auras.
Bossing Setup
RF provides consistent damage while you stay close to the boss, but Fire Trap is your main single-target skill. Its Burning Ground deals most of its damage, so place traps where the boss will remain standing.
Ramako is particularly important during boss encounters. Nearby stationary enemies have their Fire Resistance against Damage over Time set to -20%, improving your RF and Fire Trap damage. Stay close enough to keep the boss within Ramako's effect, but reposition when its attacks require you to move.
For tougher encounters:
- Keep Fire Trap's Burning Ground under the boss.
- Swap Increased Area of Effect for Concentrated Effect when you need more damage.
- Use a defensive shield with Life gained on Block if your build is moving toward a block setup.
- Keep Purity of Fire and other defensive auras active when your reservation allows.
- Carry a Life Flask that removes Burning so you can turn RF off if an encounter requires emergency recovery.
Scorching Ray of Immolation with Totems is a higher-investment alternative for single-target damage. It requires a dedicated Totem setup and additional investment, so Fire Trap is the more practical default for league-start progression.
Gear Upgrade Priority
Upgrade your gear in this order:
- Life and Resistances: Secure enough Life, capped Elemental Resistances, and the recovery needed to sustain RF.
- Life Regeneration: Improve your recovery through passives, gear, and the Fire Mastery that scales with uncapped Fire Resistance.
- RF Clear: Get a suitable linked setup and an Ignite Proliferation source for Hinekora explosions.
- Fire Trap Damage: Improve gem levels, Damage over Time Multiplier, and Burning Ground damage for bosses.
- Endgame Defenses: Work toward higher maximum Resistances, block, Life gained on Block, and stronger mitigation as your budget allows.
RF Chieftain's main strength is comfortable mapping, with Fire Trap providing additional single-target damage. Before activating RF, prioritize capped Fire Resistance, sufficient Life Regeneration, and reliable recovery. Once these are in place, focus on improving clear speed and boss damage through gear and gem upgrades.
Recommended news
-

Path of Exile 3.30 Mercenaries of Trarthus Guide: Rewards and Farming Tips
Nov-13-2026 -
PoE 3.30 Reliquarian: League Start to Endgame and the Uniques to Prepare
Nov-12-2026 -
PoE 3.30 Covens of Umbra Guide: League Mechanics & Tips
Nov-09-2026 -
PoE 3.30: How Threads of Creation Change Atlas Farming
Nov-09-2026 -

PoE 3.29 League End: Challenges, Rewards and What to Do Before 3.30
Oct-17-2026 -

Path of Exile 3.29: Why Scion's Luminary Ascendancy Turns Mercenaries Into a Second Character to Gear
Sep-24-2026


Thank you for using this website through social login. In order to better use the functions of mmoso, please add your email address first. If you have questions, please consult our customer service.


