


 Diablo 2: Resurrected
 Diablo 4
 Path Of Exile 2
 Animal Crossing
 Path Of Exile
  Last Epoch
  FC 25
FC 25  WoW WotLK Classic
  Runescape
  WOW Classic SOD
  Steam
Steam  StarRupture
  Elden Ring
 Are you sure you want to delete all items?
How to Farm Statues Fast in D2R Season 13 (Best Routes & Real Efficiency)
category:Diablo 2: Resurrected
Apr-01-2026 Source: MMOSO
The Guardian's Thunder Jewel is one of the most sought-after items in Season 13—better resist reduction, higher enhanced damage, and stronger stats across the board make it a top priority for many endgame builds. But before you can get it, you'll need to collect five Statues to challenge the Colossal Ancients.
This guide covers everything you need to know:
-
What the Statues are and how to get them
-
Optimal speed-farming routes for all five Act bosses
-
What else you can farm along the way without wasting time
-
Common mistakes to avoid for each boss
Whether you're new to Terror Zones or a veteran looking to optimize your runs, this guide has you covered.
1. What Are the Statues and How Do You Get Them?
The Five Statues and Their Bosses
To challenge the Colossal Ancients, you'll need to collect these five Statues. Each drops from a specific Act boss—but only while that boss is under the influence of a Terror Zone:
| Statue | Boss | Act |
| Talic's Anguish | Andariel | Act 1 |
| Korlic's Pain | Duriel | Act 2 |
| Madawc's Ire | Mephisto | Act 3 |
| Bul-Kathos' Nightmare | Diablo | Act 4 |
| Worusk's End | Baal | Act 5 |
How Drops Work
The key rule: The boss must be in a Terror Zone for the Statue to have a chance to drop.
Drop mechanics:
-
Each boss primarily drops their corresponding Statue (Andariel drops Talic's Anguish, etc.)
-
In theory, any Terrorized boss has a tiny chance to drop any Statue, but the most efficient approach is to farm the matching boss
-
Player count has no meaningful impact on drop rates for most bosses (Andariel sees a negligible increase, but it's barely noticeable). Running 8-player games won't help—it'll just make bosses tankier and slow you down. Stick to the difficulty and player count where you can kill bosses as fast as possible
Now that you know what to target, let's dive into the most efficient ways to farm each boss.

2. Essential Prep: Teleport Is Your Best Choice
Having Teleport charges on a weapon is a game-changer. It lets you skip huge amounts of empty map traversal and dramatically speeds up your runs.
What If You Don't Have Enigma?
If you don't have Enigma yet, you can shop a staff or weapon with Teleport charges from NPC vendors (Ormus in Act 3 or Drognan in Act 2 are good places to check). The charges are limited, but they get the job done.
How to Cover Repair Costs
Repairing Teleport charges isn't cheap, but there are a few easy ways to fund it:
-
Pick up +skill items: Grab gray or blue items with "+ to [skill]" modifiers—especially staves, wands, scepters, and orbs. These sell for 25k–35k gold each
-
Pick up elite weapons and armor: Elite (exceptional or elite tier) gray and white items also sell for solid gold
-
Use Ral runes: If you have extra Ral runes, you can cube one with the item to repair its charges. The recipe is: Ral rune + weapon/armor in the Horadric Cube fully repairs durability and recharges charges
With your mobility sorted, let's go Act by Act.
3. Act 1: Andariel
Andariel Speed Route
-
Teleport to Catacombs Level 2
-
When you enter the first underground level, use the right-wall rule—stick to the right wall from the entrance. In most cases, this leads you to the down staircase fastest
-
From Level 2 onward, there's no fixed shortcut. Use Teleport to explore and find the entrance to the next level
-
Once you reach Level 4, Andariel is in the center
Extra Loot Near Andariel
The Countess is right next door. If you start from the Black Marsh waypoint, the Countess's tower and Andariel's entrance are in the same zone.
-
If you have time, hit the Countess before Andariel
-
The Countess drops runes up to Lo (28)
-
This adds almost no extra travel time but gives you a shot at runes alongside your Statue farming
Andariel Farming Mistakes to Avoid
Pitfall #1: Wasting time on Catacombs Level 2
-
The exit location on Level 2 is completely random—no fixed pattern
-
If you've explored 3–4 dead ends in one direction without finding the stairs, change direction
-
Rule of thumb: If you haven't found the exit after 1 minute, remake the game. Terror Zones are on a timer—don't burn it on one bad map
Pitfall #2: Forgetting to check if the Terror Zone is active
-
Statues only drop when the boss is Terrorized
-
Check the minimap or the notification before committing to a run
-
If Andariel isn't in a Terror Zone, switch to another boss or wait for the next rotation
4. Act 2: Duriel
Duriel Speed Route
-
Teleport to the Arcane Sanctuary
-
Find the Summoner. He'll be surrounded by floating glowing symbols—there are four types: Square, Triangle, Moon, and Star
-
Identify the missing symbol. The Summoner always has three of the four symbols around him. The missing one corresponds to the true tomb where Duriel is hiding
-
Remember which symbol matches which tomb, then teleport to that tomb entrance
-
Once inside, Duriel's chamber is in the largest tomb. You'll need to explore to find the entrance
Extra Loot in Arcane Sanctuary & The True Tomb
The ghosts in Arcane Sanctuary are rune magnets
-
Ghost-type monsters have 3–4x higher rune drop rates than normal mobs
-
While making your way to the Summoner, clear the ghosts you pass—zero detour, extra rune chances
Don't skip the chests in the true tomb
-
The true tomb usually contains a golden chest and sometimes a super chest
-
Since you're already exploring the tomb, pop them on your way—free loot with no extra time cost
Duriel Farming Mistakes to Avoid
Pitfall #1: Misremembering the symbol
-
This is the #1 time-waster for Duriel runs. You think you remember the symbol, run all the way to the wrong tomb, and find nothing
-
Solution: When you see the Summoner, note the missing symbol—screenshot it or write it down—before teleporting away
-
Spending 5 seconds to confirm saves 5 minutes of running
Pitfall #2: Committing to the wrong tomb
-
If you realize you're in the wrong tomb but haven't gone far, town portal and go back to the correct one immediately
-
Don't fall into the "I'm already here, might as well check" trap. Duriel's tomb is the largest—if you're in a small tomb, you won't find him
Pitfall #3: Not reading the tomb entrance
-
Every tomb entrance has a nameplate showing its symbol
-
Before entering, glance at it and confirm it matches your missing symbol
5. Act 3: Mephisto
Mephisto Speed Route
-
Teleport to Durance of Hate Level 2
-
Map pattern: About 70% of the time, the entrance to Level 3 is on the left side. Prioritize exploring left first—it won't work every time, but it's the most efficient approach overall
-
Once you reach Level 3, Mephisto is in the central area
-
Ranged character moat trick: Lure Mephisto to the narrowest point of the moat and attack from across the water. If you stay out of his line of sight, he won't attack back, making the kill completely safe
Extra Loot in Durance of Hate
Durance of Hate Level 2 is a chest-farming goldmine
-
This map is loaded with chests, stashes, racks, and super chests
-
Chest farming is underrated—it's one of the best sources of high runes and jewelry in the game
-
How to do it: As you explore the map, click on chests you pass. No need to detour—just make it a habit to click as you run by
Mephisto Farming Mistakes to Avoid
Pitfall #1: Standing in the wrong spot for the moat trick
-
The moat trick is safe, but only if you position correctly
-
Mistake 1: Standing too close—Mephisto's lightning can still hit you
-
Mistake 2: Luring him to a spot where he can still target you
-
Correct setup: Position yourself at the narrowest part of the moat, with Mephisto's model trapped in the "indented" area on the opposite side
Pitfall #2: Spending too long on Level 2
-
If you've been searching for more than 90 seconds, remake the game
-
Level 2 is large, but the exit locations are fixed in a few possible spots. If you're not finding it, you're likely stuck in a loop
Pitfall #3: Ignoring Mephisto's cold orbs
-
Even when positioned correctly, his cold orbs can occasionally drift toward you
-
Stay aware and sidestep—don't just stand there and tank them
6. Act 4: Diablo
Chaos Sanctuary Speed Route
-
Enter the Chaos Sanctuary
-
Activate the three seals and kill the elite bosses that spawn at each
-
Critical technique: Before activating the final seal, teleport to every unexplored area of the map
-
Activate the final seal and kill the last elite
-
All remaining non-elite monsters on the map instantly die and drop loot
-
Kill Diablo
Efficiency note: With practice, you can go from entering the Chaos Sanctuary to killing Diablo in around 20 seconds.
Extra Loot in Chaos Sanctuary
The Chaos Sanctuary is one of the best rune base farming spots in the game
The "clear the whole map" technique described above isn't just a speed trick—it's a massive loot generator. Before hitting the last seal, teleport to:
-
The five "wing" areas (the extended passages)
-
The edges of the central area
Every monster you've "visited" dies instantly when the last seal pops. That's dozens of elites and hundreds of normal mobs dropping loot all at once—runeword bases, runes, jewels, charms, you name it.
Players run Chaos Sanctuary specifically for bases. You're getting all that loot for free while farming your Statue.
Diablo Farming Mistakes to Avoid
Pitfall #1: Popping the last seal too early
-
This is the most costly mistake in Chaos Sanctuary
-
If you kill the third seal elite before teleporting around the map, Diablo spawns immediately and the mass monster death doesn't happen—you lose the entire loot explosion
The correct order:
-
Kill the elites at the first two seals
-
Go to the third seal—but don't activate it yet
-
Teleport to every corner of the map
-
Return to the third seal, activate it, and kill the elite
-
Watch everything die and drop loot
Pitfall #2: Accidentally hitting a seal while teleporting
-
Be careful not to clip the third seal while exploring
-
If you accidentally trigger it early, finish the run normally, then clear any remaining elites after Diablo dies. You'll miss the mass loot explosion, but elites still drop decent loot
Pitfall #3: Underestimating the seal elites
-
The three seal bosses all have dangerous modifiers (Extra Fast, Fire Enchanted, Magic Resistant, etc.)
-
If your gear is still coming together, clear some of the surrounding mobs before popping the seal to avoid getting swarmed
7. Act 5: Baal
Speed Route
-
Teleport to Worldstone Keep Level 2
-
Use the right-wall rule—stick to the right wall from the entrance. In most cases, this leads to the down staircase fastest
-
The right-wall rule has an extra benefit here: it helps you avoid the annoying Gloams (soul monsters) that love to spawn on this level
-
On Worldstone Keep Level 3, there's no fixed shortcut—teleport and explore to find the Throne of Destruction entrance
-
Enter the Throne of Destruction and clear five waves of monsters
-
Baal spawns—kill him
Extra Loot Opportunities
Worldstone Keep is packed with elites
-
As you navigate toward the stairs, you'll naturally pass by a ton of elite packs
-
Elites have drop rates comparable to bosses, and under Terror Zones, they give massive experience
-
How to do it: Don't stop to clear everything, but if an elite is in your path, kill it. You're going right by anyway
Gloams are dangerous—but they drop runes
-
Gloams (the ghost-type soul monsters) have the same elevated rune drop rate as Arcane Sanctuary ghosts (3–4x normal)
-
If your gear can handle them, clearing the Gloams in your path gives you rune chances while clearing your route
Common Pitfalls to Avoid
Pitfall #1: Bad positioning between waves
-
Wave 2 (skeleton mages) casts Poison Nova. If you're standing near the entrance stairs, the poison clouds cover your only escape route
-
Correct positioning: After Wave 1, move up toward Baal's throne. Stand in the middle or upper part of the hall. This gives you room to dodge and kite
Pitfall #2: Staying at the entrance for Wave 5
-
Wave 5 (Baal's minions) spawns close to the throne
-
If you're still at the entrance, the minions scatter across the whole room, making the wave take longer
-
Correct positioning: After Wave 4, move to the mid-to-front area so you can AoE them as they spawn
Pitfall #3: Panicking when poisoned
-
If you get caught in Poison Nova, run toward the throne, not back to the entrance
-
The throne area has plenty of room to chug antidote potions and reposition
Pitfall #4: Chasing Baal's clone
-
Baal sometimes spawns a clone during the fight
-
The clone takes damage faster than the real Baal. If you're hitting one and it's melting, you're probably on the clone—the real Baal is still casting spells nearby
-
Check the health bar: The clone often shows a different health pattern. Swap targets if you're not sure
Final Thoughts
Farming Statues is a numbers game—RNG is RNG. But how you farm is entirely up to you. With the same time investment, some players just "farm Statues," while others farm "Statues + runes + bases + XP + chests."
Hopefully this guide helps you make the most of your Season 13 farming runs. Remember: Terror Zones are on a timer—every minute counts.
Good luck, wanderer. May your waypoints be close, your seals pop in your favor, and your Statues drop when you need them most.
Recommended news
-
Diablo 4 Season 13 Greater Affix (GA) Complete Guide: Farming, Tempering & Pitfall Avoidance
May-23-2026 -
D2R Runewords: Crafting Guide & Full Rune List
May-14-2026 -
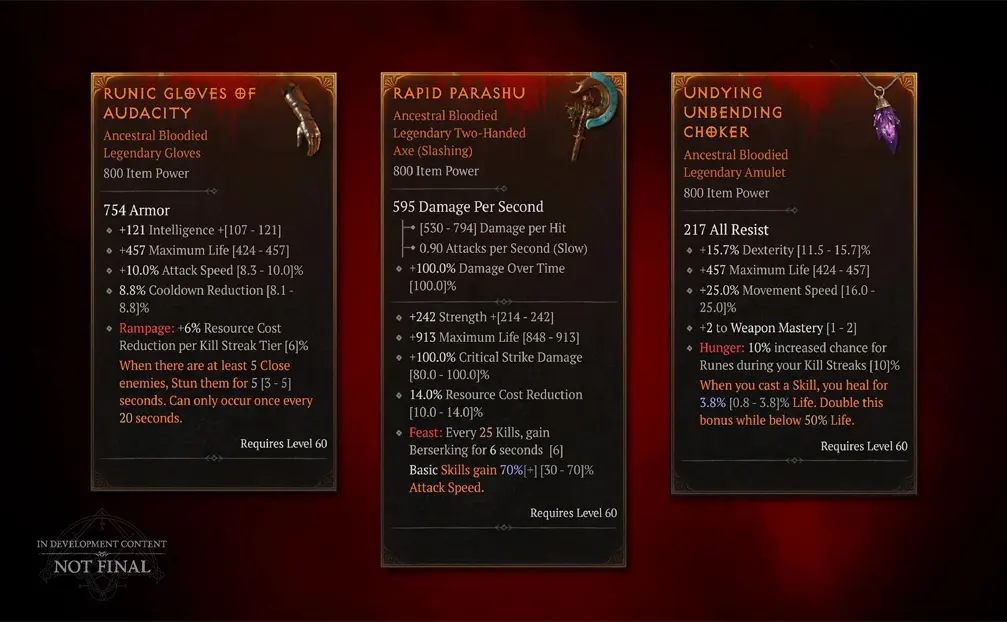
Diablo 4 S12 Best Bloodied Sigils Guide
Apr-09-2026 -
Diablo 4 Guide: What to Do Before Season 12 End
Apr-01-2026 -
Diablo 4 Gift of the Tree & Mother's Blessing Guide – 35% XP & Double Rewards
Mar-25-2026 -

Diablo 4 Patch 2.6.1 Bloodied Marks Nerf – PvP & Gear Analysis
Mar-24-2026


Thank you for using this website through social login. In order to better use the functions of mmoso, please add your email address first. If you have questions, please consult our customer service.


