
 Games


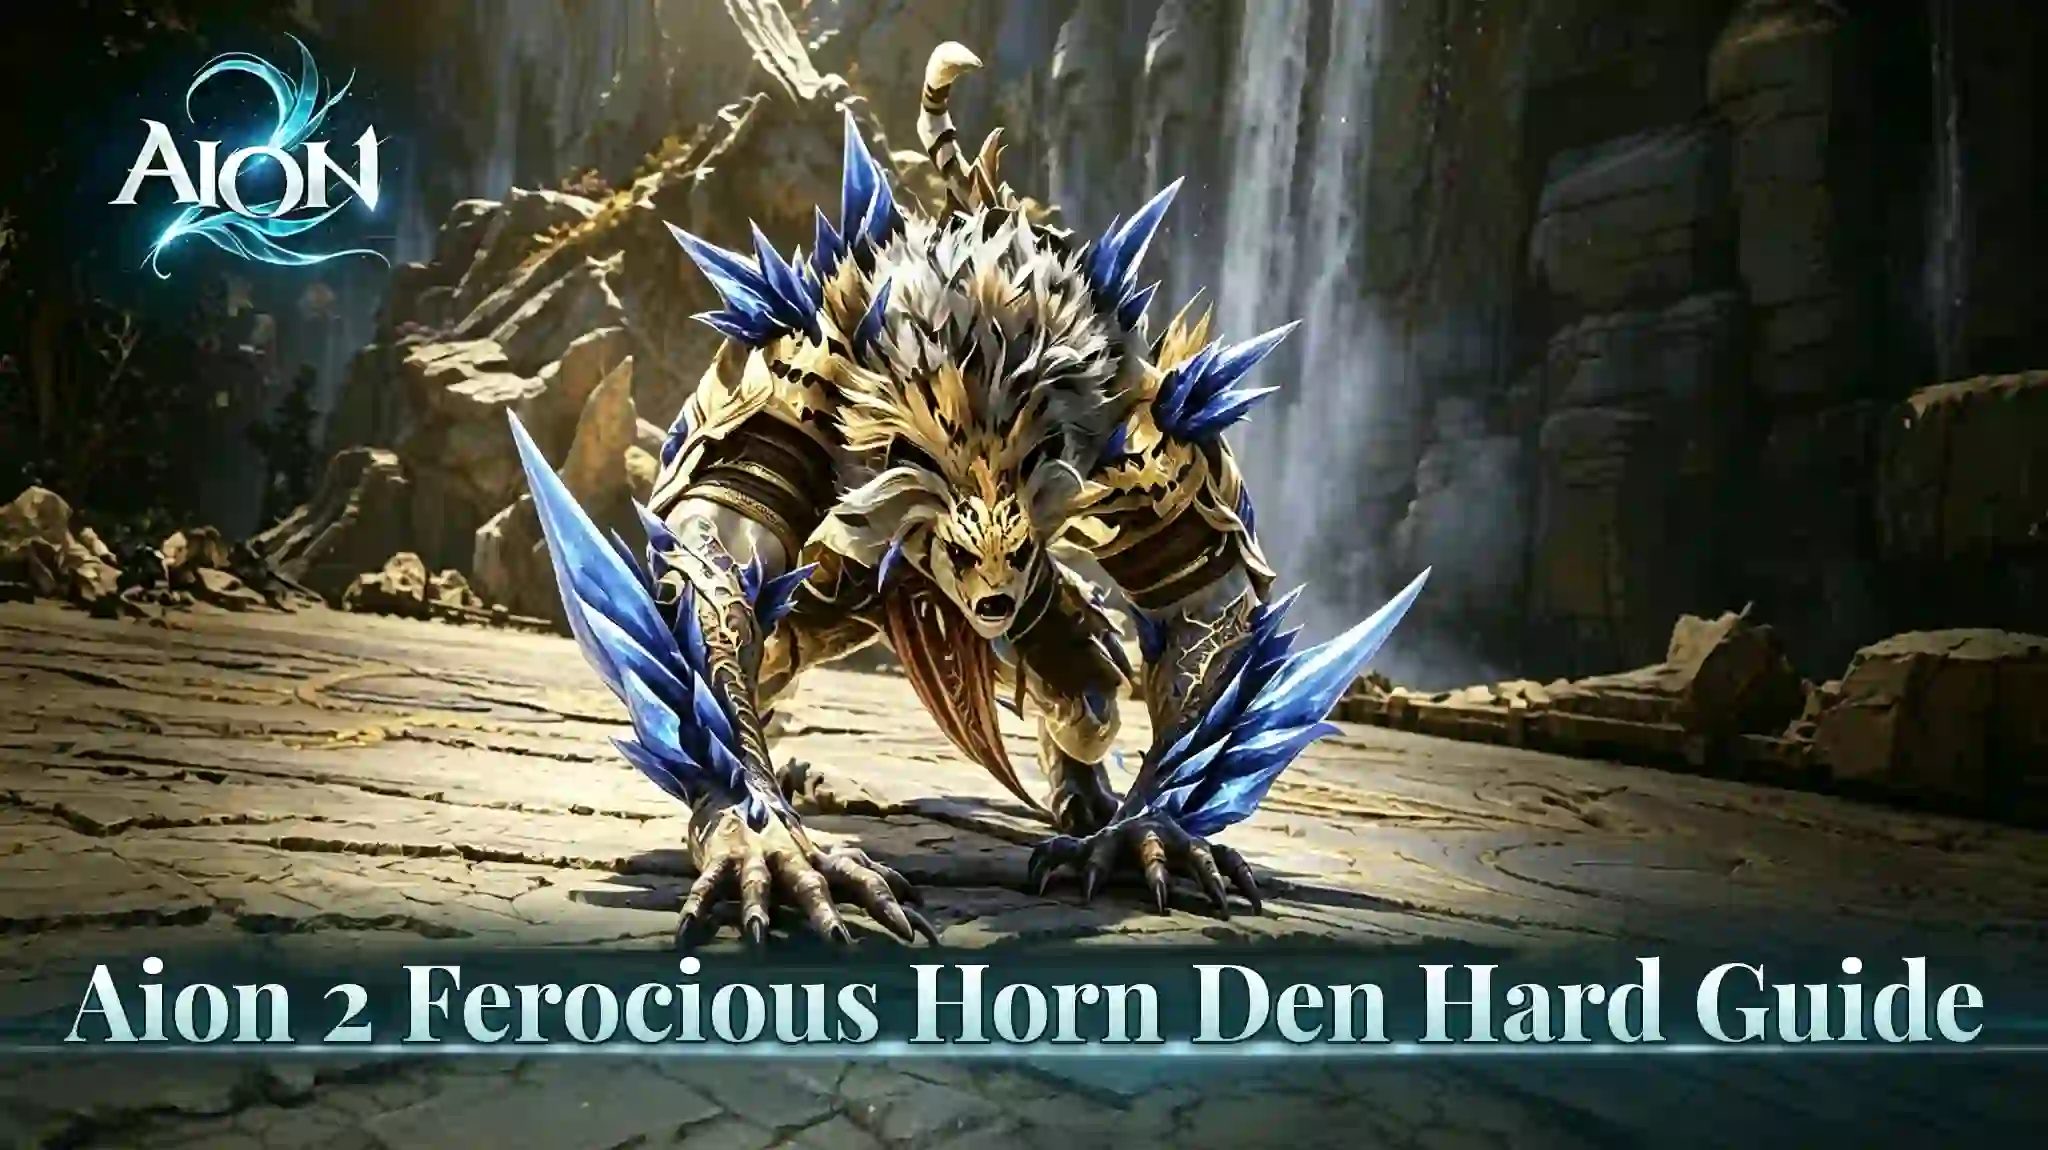
Aion 2 Ferocious Horn Den Hard Guide: How to Beat the Boss and Handle Its Frenzy
category:Aion 2
Nov-16-2026 Source: MMOSO
Ferocious Horn Den Hard became available in Aion 2 Global on November 11, 2026. It requires 2,800 Item Level, has a 4-minute boss Frenzy timer, and gives each player 3 revives.
The final boss, Ferocious Horn Nuakum, is the main challenge. Players must handle the Hunt charge, respond correctly to stack and spread circles, and guide at least three of four throws into a central orb before the cast ends.
This guide covers the entry requirements, dungeon route, Nuakum's key mechanics, and Hard-mode rewards.
Ferocious Horn Den Hard Requirements
The official patch notes confirm three main restrictions:
| Requirement | Hard Mode |
|---|---|
| Required Item Level | 2,800 |
| Boss Frenzy Timer | 4 minutes |
| Revives | 3 per player |
The four-minute Frenzy timer applies to the boss encounter, not the entire dungeon. Community guides identify Nuakum as the main damage check, but the official notes do not specify the exact effect of Frenzy after the timer expires.
To enter, open the Expedition panel, select Ferocious Horn Den, and choose Hard mode.
Do not confuse Ferocious Horn Den with Krao Cave. They are separate Expeditions. Krao Cave Hard requires 2,600 Item Level, while Ferocious Horn Den Hard requires 2,800.
The official announcement does not specify a separate entry ticket, daily entry limit, or additional character-level requirement. Check the in-game Expedition panel for the current party size, Odyle Energy cost, and reward eligibility.
How to Reach Ferocious Horn Nuakum
Clear the three encounters before entering the final arena:
- Watchdog Kwapo: Defeat the boss and use the nearby bomb to break through the wooden barricade.
- Shining Mau Totem: Clear the summoned enemies, then destroy the totem.
- Necromancer Duanka: Defeat the boss and handle the summoned souls.
- Ferocious Horn Nuakum: Enter the Howling Throne for the final encounter.
After defeating Duanka, follow the path to the Howling Throne and bind at the last Kibelisk.
Make sure the entire party is inside the arena before pulling Nuakum. The three revives per player are limited, so avoid unnecessary deaths during the earlier encounters.
Ferocious Horn Nuakum: Positioning and Bleed Pools
Nuakum's frontal attacks are dangerous throughout the fight. The tank should keep the boss facing away from the party, while other players attack from behind or safe positions.
His attacks build Bleed stacks. At three stacks, the effect ruptures and creates a damaging pool beneath the affected player. Move toward the arena's edge before the pool appears to keep the central area clear.
This is especially important because the Hunt and orb mechanics require room for players to reposition.
The Hunt: Block the Clone and Read the Circle
Community guides report that the Hunt mechanic appears at approximately 75% and 55% HP.
Nuakum jumps away and roots one player. A clone then charges toward that target, and one unmarked teammate must step into its path to block the charge.
The party must then respond to the red circle beneath the rooted player:
Small circle with inward arrows: Stack
Everyone except the clone blocker stacks on the rooted player to share the damage. The blocker must stay outside the group.
Large circle with outward arrows: Spread
Everyone except the rooted player moves outside the circle. The targeted player takes the attack alone.
The clone blocker receives a Hunt Mark after intercepting the charge. A marked player must not block the next charge, so rotate the responsibility between unmarked teammates.
Do not assume the circle pattern alternates. Check the arrows each time before deciding whether to stack or spread.
Blue Light of Destruction: Guide Three Throws Into the Orb
At approximately 30% HP, Nuakum begins Blue Light of Destruction.
A Condensed Energy orb appears in the center of the arena while Nuakum starts a long cast. Community guides report a cast time of about 34 seconds and four throws during this sequence.
The party must make at least three of the four throws hit the central orb.
When a player receives the red eye mark:
- Move to the opposite side of the orb from Nuakum.
- Keep the orb between the boss and the marked player.
- Stay aligned so the throw hits the orb instead of the player.
- Repeat for each marked target until at least three throws connect.
The same player can receive the mark more than once, so do not assume the target will rotate.
The orb pulls nearby players toward it and causes damage at close range. Community guides report a burn radius of approximately 6 meters. Keep your distance while maintaining the correct alignment.
Nuakum also fears the party before a later throw. Reposition early and avoid being pulled into the orb's damaging area.
If the cast finishes before the orb receives three hits, the party is wiped.
Late-Fight Red Projectile Mechanic
Later in the fight, Nuakum roots one player and prepares two red projectiles aimed at that target.
Two different unmarked players must intercept them:
- The first player blocks the initial projectile.
- A second unmarked player intercepts the next one.
- The first interceptor must leave the path instead of blocking both attacks.
The first interception applies a mark. Taking the second projectile with the same mark can be fatal, so check your debuffs before stepping into the attack path.
Community guides place this mechanic late in the encounter but do not establish one confirmed HP trigger.
How to Beat the 4-Minute Frenzy Timer
The official Hard-mode Frenzy timer is four minutes. Community guides report a five-minute timer for Nuakum in Conquest Normal, making Hard mode a tighter damage check.
Before pulling, assign responsibilities:
- Clone blockers: Decide who will intercept each Hunt charge. Rotate players according to their marks.
- Circle positioning: Make sure everyone knows that small circles require stacking and large circles require spreading.
- Orb alignment: The marked player guides each throw through the central orb. Other players should stay out of the attack line.
- Damage cooldowns: Use major cooldowns during effective damage windows rather than wasting them while Nuakum is untargetable or the party is handling mechanics.
- Revive management: Avoid unnecessary deaths before the final encounter.
Do not sacrifice a mechanic to gain a few seconds of damage. A failed Hunt or orb sequence can wipe the party.
Ferocious Horn Den Hard Rewards
The official patch notes list the following rewards.
Guaranteed reward
Ariel Fragment: Ferocious Horn Den (Bound): Guaranteed 100% drop rate in Ferocious Horn Den Hard.
Additional rewards
Philosopher's Stone: Revelation (Bound): Chance to drop, or available as a guaranteed reward selection.
Unique crafting materials: All Unique crafting materials can drop, including Wrathful Mind, Wrathful Will, and Wrathful Ego.
Expedition Hero Artwork: Chance to obtain.
Kina: More than Normal difficulty.
Unique Skins: Available through new Expedition Hard achievements.
The official notes do not provide exact Kina amounts or individual drop rates for chance-based rewards.
How to Use Ariel Fragments
Ariel Fragments can be converted through Substance Morph:
100 Ariel Fragments: 1 Daevanion Crystal: Ariel (Bound), up to 30 times per character. Path: Substance Morph > Special > Daevanion.
1 Ariel Fragment: 5 Enhance Stones, with no conversion limit. Path: Substance Morph > Special > Consumables.
If you need more Aion 2 Kinah or gear to prepare for challenging Expeditions, visit our Aion 2 Items to find the resources you need and strengthen your character for tougher content.
Is Ferocious Horn Den Hard Worth Running?
For players who have reached 2,800 Item Level, Ferocious Horn Den Hard is another Expedition progression option alongside Fire Temple Hard.
Its guaranteed Ariel Fragment provides a consistent source for Daevanion Crystal or Enhance Stone conversions. Unique crafting materials, the Philosopher's Stone reward option, and achievement-based skins add further value.
The main challenge is Nuakum's four-minute Frenzy timer. Assign clone blockers before the fight, learn the stack and spread patterns, and practice the orb positioning to improve your chances of clearing the encounter.
Recommended news
-
Aion 2 Kinah Farming: Where to Get It and How to Spend It
Nov-14-2026 -
Aion 2 Fire Temple Hard Walkthrough: Fire Walls, Clones, and Wipe Mechanics
Nov-13-2026 -
AION 2 Native Macros: Setup Guide & Class Rotation Templates
Nov-10-2026 -
How to Get and Upgrade Ludra's Bracelet in Aion 2
Nov-06-2026 -
Aion 2 Essence Extraction Guide: Farming Routes & Tier Upgrade
Nov-05-2026 -
Aion 2 Ludra Accuracy Guide: How Much Accuracy Do You Need on Global?
Nov-05-2026


Thank you for using this website through social login. In order to better use the functions of mmoso, please add your email address first. If you have questions, please consult our customer service.


